Let's be real: we've all seen those orange-tinted tanning disasters that make people look like they've been dipped in Cheetos dust. If you've ever wondered why some people get that gorgeous, sun-kissed glow while others end up looking like a traffic cone, you're in the right place.
Getting a natural-looking tan that actually complements your skin tone isn't rocket science, but it does require understanding a few key things about how tanning products work and what your skin actually needs.
Why Do Tans Turn Orange in the First Place?
Here's the science bit (don't worry, we'll keep it simple): most self-tanning products contain an ingredient called dihydroxyacetone, or DHA. This stuff reacts with the amino acids in your skin to create that bronzed colour. But here's where things can go sideways: too much DHA, or using a formula that doesn't match your skin tone, and boom: you're walking around looking like a pumpkin.
Your skin type plays a huge role too. If you've got oily skin, dry patches, or certain undertones, the DHA might react differently than expected. That's why your friend's favourite tanning product might turn you orange while giving her the perfect glow.

Understanding Your Skin Tone (This Is Actually Important)
Before you even think about grabbing a tanning product, you need to figure out what you're working with. Are you fair, light, medium, or deep? Do you have cool, warm, or neutral undertones?
Here's a quick test: look at the veins on your wrist. If they appear blue or purple, you likely have cool undertones. If they look green, you're probably warm-toned. Can't tell? You might have neutral undertones: lucky you, most products will work well for you.
Fair skin tones: You need gentle, gradual products with lower DHA concentrations. Think light to medium shades, and always build up slowly.
Light to medium skin tones: You have more flexibility but still want to start conservatively and build up.
Deep skin tones: You can handle stronger formulations, but matching undertones is still crucial to avoid that ashy or orange look.
The Art of Proper Application
Even the best product in the world won't save you if your application game is weak. Here's how to nail it every time:
Pre-Tan Prep
Start with clean, exfoliated skin. Dead skin cells are like tiny speed bumps that cause uneven colour. Use a gentle scrub (nothing too harsh) and pay extra attention to rough areas like elbows, knees, and ankles.
Moisturise dry areas lightly: but not everywhere. Your skin should be clean and slightly damp for optimal absorption.
Application Technique
Less is more, especially when you're starting out. You can always add more colour, but removing an overly dark tan is a pain.
Work in sections and blend, blend, blend. Use circular motions and make sure you're not missing spots. Those streaky patches? Usually from rushing through the application.
For areas that tend to grab more colour (like your ankles and wrists), use a lighter touch or dilute your product with a bit of regular moisturiser.

Gradual vs. Instant: Choosing Your Approach
Gradual tanning products are perfect if you're new to this or nervous about going too dark. They build colour slowly over several applications, giving you more control over the final result.
Instant tanners give you colour right away but require more skill to apply evenly. They're great for special events but less forgiving if you mess up.
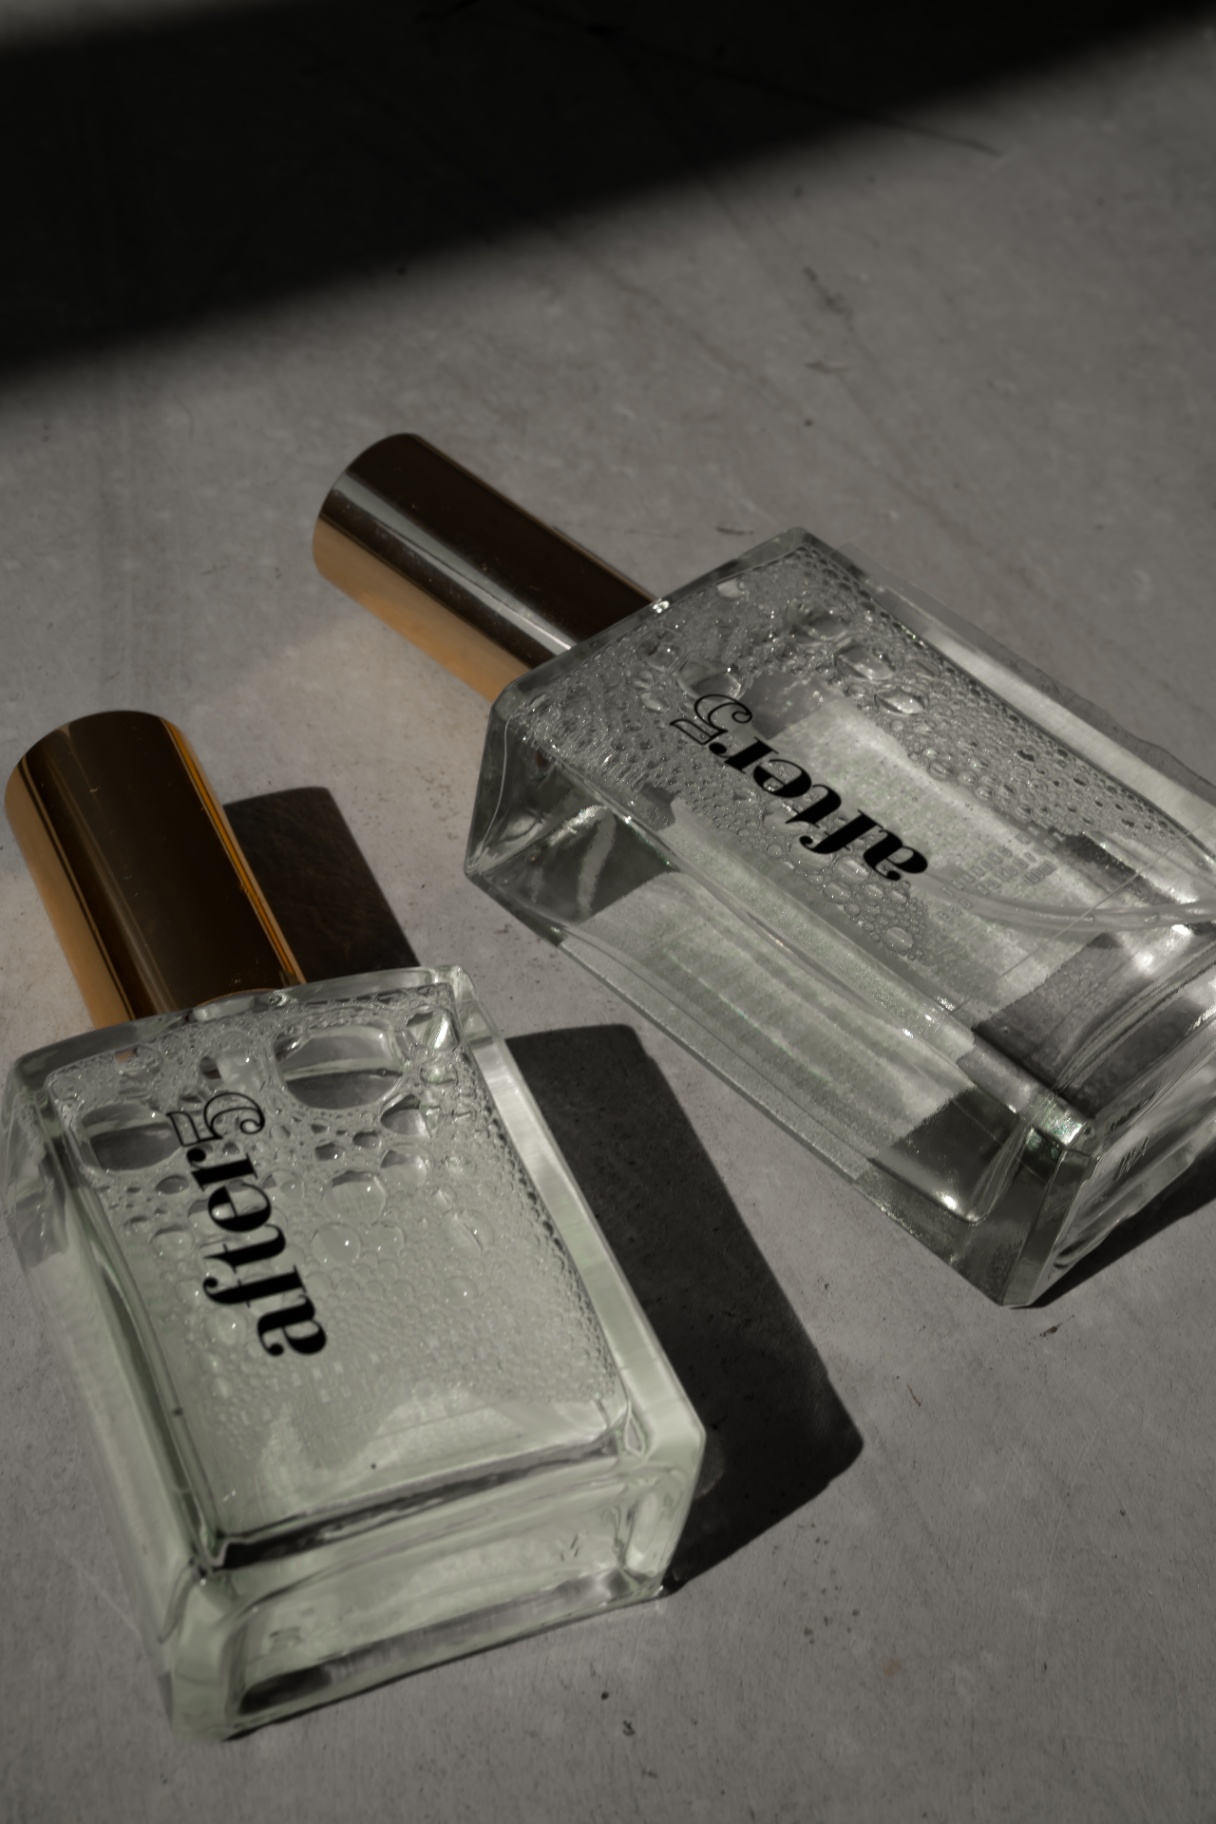
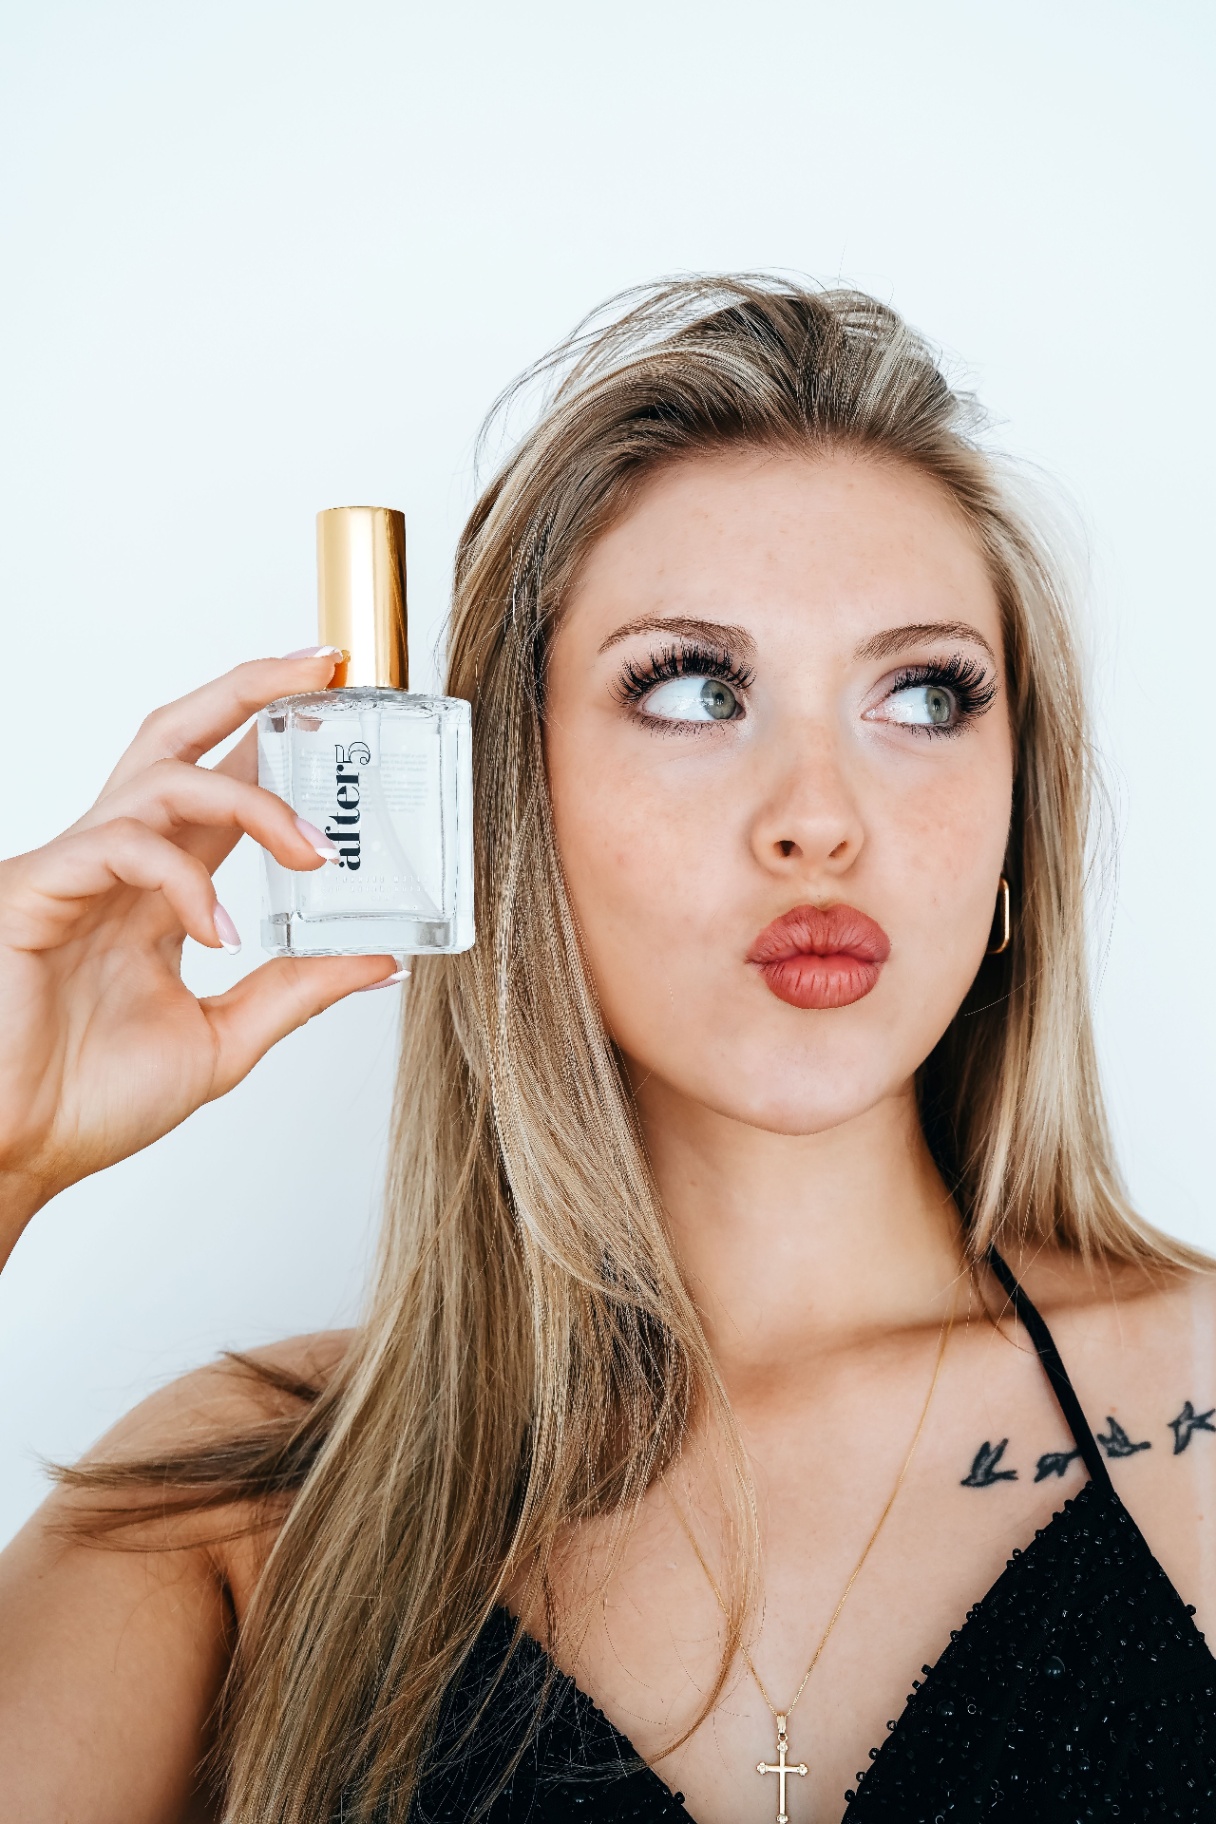
For most people, especially beginners, gradual products are the way to go. After5's gradual tanning water is formulated to build natural-looking colour gradually while keeping your skin hydrated: no orange undertones in sight.
DIY Natural Alternatives (If That's Your Thing)
Not everyone wants to use commercial products, and that's totally fine. Here are some natural options that can give you a subtle hint of colour:
Coffee Bronzing Oil
Mix one tablespoon of finely ground dark roast coffee with a teaspoon of bronze mica powder and three ounces of jojoba oil. Let it steep for a day or two, then apply to clean skin. This gives temporary colour and a gorgeous glow, but it will wash off pretty quickly.
Black Tea Tanning Mist
Steep strong black tea in rosewater for about 20 minutes, then transfer to a spray bottle. This can tint your skin for up to two days, but be careful: it can stain light-coloured clothes.
Cocoa Tanning Lotion
Mix three tablespoons of your regular body lotion with three teaspoons of cocoa powder and a few drops of lavender oil. Adjust the cocoa based on how deep you want to go.

Maintenance and Touch-Ups
Your tan isn't going to last forever: that's just how it works. As your skin naturally sheds, so does your colour. Most self-tans last about a week, depending on your skin type and how well you maintain them.
To keep your colour looking fresh:
- Moisturise daily (seriously, this makes a huge difference)
- Avoid harsh scrubs or exfoliants
- Pat, don't rub, when drying off after showers
- Use gentle, sulfate-free body washes
For touch-ups, apply product to areas that fade first (usually hands, feet, and face) rather than doing your whole body every time.
Common Mistakes to Avoid
Using expired product: Self-tanning products don't last forever. Old products can cause uneven colour or skin irritation.
Forgetting about your hands and feet: These areas are tricky but super noticeable if you get them wrong. Use a light touch and blend well.
Going too dark, too fast: We get it, you want results. But building colour gradually always looks more natural.
Skipping the patch test: Always test new products on a small, hidden area first. Better safe than orange.
Not reading instructions: Every product is different. What worked for your last tanning product might not work for your new one.
When to Seek Professional Help
Sometimes DIY just isn't cutting it, and that's okay. Professional spray tans can be worth the investment, especially for special events. A good technician will:
- Assess your skin tone properly
- Use quality products with the right DHA concentration
- Apply evenly with proper technique
- Give you aftercare instructions
Just make sure you research the salon and check reviews first.

The Bottom Line
Getting a natural-looking tan that actually suits you comes down to understanding your skin, choosing the right products, and taking your time with application. There's no magic formula that works for everyone, but with a bit of patience and practice, you can definitely achieve that gorgeous, sun-kissed look without looking like you've been attacked by a carrot.
Remember, the best tan is one that enhances your natural beauty rather than masking it. Whether you go the gradual route with products like After5's tanning water or try some DIY alternatives, the key is starting slowly and building up colour gradually.
Your skin is unique, and your tanning routine should be too. Take the time to figure out what works for you, and don't be afraid to experiment (safely) until you find your perfect formula. After all, confidence is the best accessory, and there's nothing more confident than knowing your tan looks absolutely natural.